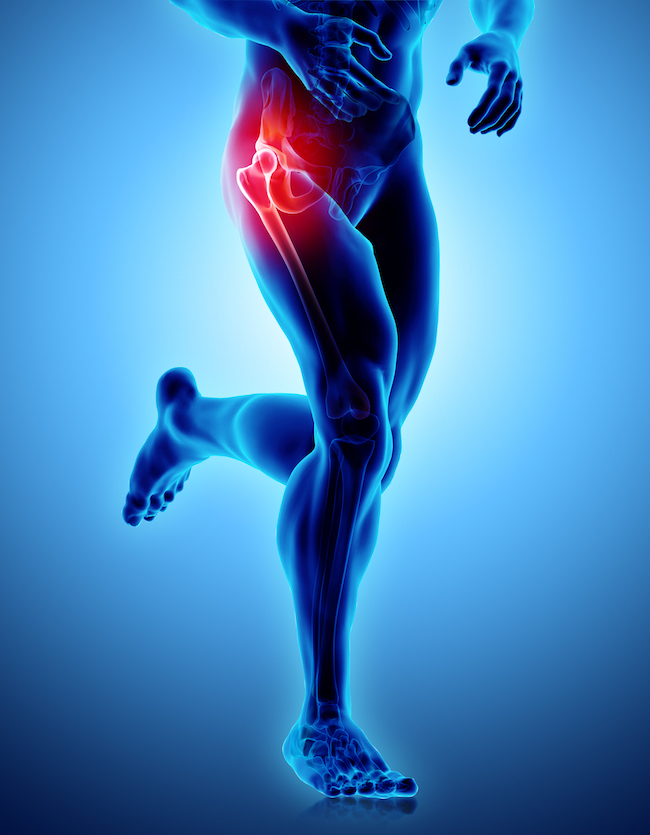
Hip pain can be very painful and can even prevent you from doing day to day actives. Anyone can experience occasional hip pain, here are some common symptoms to look out for:
- Tenderness felt in the top area of your hips
- Associated swelling or bruising
- Limping when walking due to the pain
- Range of motion of the hip can be limited due to the pain
- Pain worsens with walking, twisting, or bending
The first step in treating your hip point pain is to assess the severity and complication of the pain. This should be done by a doctor and treatment recommendations will be given. Getting adjusted regularly is crucial, but what you do at home in between adjustments is just as important in maintaining hip alignment. Here are some tips you can follow at home to help maintain the adjustment as well as decrease inflammation and pain. The first step is going to be reducing the inflammation under the surface of the skin. This can be done via cold therapy right in your own home. Get an ice pack and place on a towel or piece of clothing over the area of pain. Icing can lower the inflammation and help reduce the pain greatly. The use of ice as a cold therapy that has been used to treat several injuries to the muscles and ligaments. The cold therapy needs to be applied for around ten minutes. This method is very effective in alleviating pain and reducing the swelling or soreness in the affected area. The next step is going to be stretching.
1. Rotational Lunge Stretch
Be in a lunge position with your left leg forward. The right hand should be on the ground to offer you balance. Rotate your trunk with your left arm being high in the sky. Keep the glute contracted. You should be able to feel the impact as you stretch the trunk back and forward. Hold for 10- 30 seconds and repeat 10 times. All of these exercises should be done once a day.
2. Quadruped posterior rocking
This is another great exercise to work your lower back and mobilize your hips. Put your hands and knees on the ground with shoulders and knees placed under the hips. Maintain a natural curve but have your belly into your spine. Slowly move your hips backward until you start to feel the pelvis moving. Get back into the starting position and repeat the same procedure again. You should be able to breathe normally as you do this.
3. Leg cradle- endurance exercise
The leg cradle is an endurance exercise that should help you stretch the outer part of your hips in the front leg and the flexor muscles of the back leg. Stand and ensure your back is in a straight position. Arms should be at your sides and knees unlocked. Start by lifting your right foot in the air and squat it back and down as you stand with the left leg. Next, you need to lift your right knee to the chest supporting it with the left hand under the ankle. The left knee should be as close as possible to the chest as you contract the left glute. Repeat the same procedure for the left leg.
4. Glute activation-half kneeling
The glute activation exercise helps you stretch in the upper thigh and the front of the hip. On a soft mat, kneel halfway with one leg while keeping a slight forward torso. Contract the glute and tighten the core. Maintain the posture and shift the whole body forward. Take a break to relax and repeat the same procedure for both legs. Ensure you avoid excessive arching on your back as you move the body forward.
By following the simple treatment plan above, combined with regular chiropractic adjustments, you will be able to heal naturally. Feel free to give us a call at 515-278-9678 to set up an appointment today.